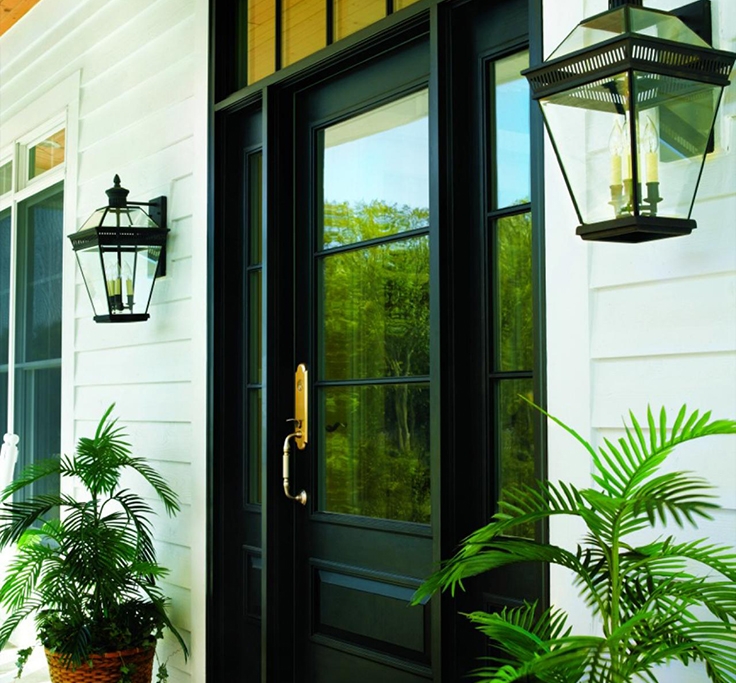
Upgrading your home with a new door can enhance curb appeal, improve security, and boost energy efficiency. However, door installation requires precision to ensure a proper fit and smooth operation. Whether you're tackling an exterior door installation or replacing an interior one, this guide will walk you through the process like a pro.
For homeowners in Long Island seeking door installation near me, Mikita Door & Window - Long Island Door Installation offers expert craftsmanship and reliable service. Now, let’s dive into the steps for a flawless installation.
Step 1: Gather the Right Tools & Materials
Before starting, ensure you have:
-
New door & frame (pre-hung doors are easiest for beginners)
-
Measuring tape, level, & shims
-
Drill, screws, & screwdriver
-
Hammer & nails
-
Caulk & weatherstripping (for exterior door installation)
-
Safety gear (gloves, goggles)
Pro Tip: Measure the rough opening carefully—most doors need ½-inch clearance on all sides for adjustments.
Step 2: Remove the Old Door & Frame
-
Detach the door by removing hinges or sliding it out.
-
Pry off trim carefully to avoid wall damage.
-
Unscrew the frame and remove it from the opening.
-
Inspect the threshold and subfloor for rot or damage—repair if needed.
Why it matters: A warped or damaged frame can cause alignment issues with the new door.
Step 3: Prepare the Opening & Test Fit the New Door
-
Clean the opening and check for levelness.
-
Place the pre-hung door into the opening to test fit.
-
Use shims to adjust gaps—ensure even spacing (about ¼-inch around).
Pro Tip: If hiring expert door installation services like Mikita Door & Window - Long Island Door Installation, they’ll handle precise adjustments for a perfect seal.
Step 4: Secure the Door Frame
-
Insert shims near hinges and lock areas for stability.
-
Check for plumb & level—adjust shims as needed.
-
Screw the frame into place (avoid over-tightening).
Why it matters: An unlevel door won’t close properly and may let in drafts.
Step 5: Hang the Door & Adjust Hinges
-
Attach the door to the hinges.
-
Test swing & alignment—sand or adjust hinges if sticking.
-
Install lockset & hardware per manufacturer instructions.
Pro Tip: For exterior door installation, use a deadbolt for added security.
Step 6: Seal & Insulate for Energy Efficiency
-
Apply weatherstripping around the frame.
-
Caulk gaps between the frame and wall.
-
Install threshold seal to block drafts.
Why it matters: Proper sealing cuts energy costs and prevents water damage.
Step 7: Add Finishing Touches
-
Reinstall trim for a polished look.
-
Paint or stain the door if needed.
-
Test the door multiple times to ensure smooth operation.
When to Call a Professional
While DIY door installation is possible, complex jobs (like oversized or custom doors) may require expert help. For Long Island residents, Mikita Door & Window - Long Island Door Installation provides top-quality service with precision and efficiency.
Final Thoughts
A well-installed door enhances security, insulation, and aesthetics. Follow these steps for a seamless project, or contact Mikita Door & Window - Long Island Door Installation for professional results.
Need help? Search for door installation near me or reach out to trusted experts for a hassle-free upgrade!
Media Contact
Company Name: Mikita Door & Window - Long Island Door Installation
Contact Person: Support
Email: Send Email
Phone: 516-867-4100
Address:136 W Sunrise Hwy
City: Freeport
State: NY
Country: United States
Website: https://mikitadoorandwindow.com/


